
You have a story to tell about your landscape ⎻ a collection of words, pictures, videos, or audio files that you want to associate with specific places. Terraso’s story maps feature can help.
Before you start
- Gather your story materials. Gather a collection of written, video, image, or audio assets that you will use to tell your story.
- Go to the story mapping tool. Go to Tools and select Story Maps.
- Start your story map. Select “Create Story Map”.
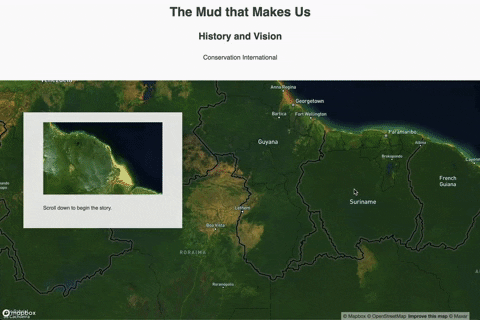
- Set the story title. The first screen will allow you to name your story map, and to provide a subtitle. Try to think of something descriptive and short (there’s a maximum of 128 characters).
Set the title screen location
- Once you have found the location, select “save map”
- Select “Set Map Location”.
- Search for the area that you are looking for (try looking for a local city or landmark).
- Drag the screen to the specific place you want to showcase, and zoom in to the level you think is appropriate. You can also right-click to change the viewing angle of the camera.
- Once you have found the location, select “save map”

Create chapters
a
- A title: the name of a small story
- Media: either upload a file or provide a link to a YouTube or Vimeo video
- A location: use the location of the background map (through the process described above).
- Text alignment: select whether you want the text show up on the left, right, or center of the screen
- Map layer: add a map you’ve created in group or landscape to your story map
Story maps can have as many chapters as you like. Repeat the process until you are finished.
Set Alignment
You can set where the chapter text and media to display by editing the alignment.

Left

Center

Right

Add map layers
Story maps can display data, such as points or polygons. This can be a great way to show the places your team has been working, the areas you have designated for restoration, or any other data spatial information.
To add a layer:
- Upload a data file with map information to a Group or Landscape. Learn more about how to prepare your data file.
- Make a map in the group/landscape. Remember the name of the file so you can reference it later.
- Open the Story Maps tool, and load up a story map where you are an editor.
- Go to a chapter
- Select “Edit map”
- Select “Add Map Layer”
- Select a map you’ve created. (Note, it may take several minutes for the map you created in Terraso to load. If you don’t see the map you’re looking for, try again in a few minutes.)
- Preview how the data will be displayed select “Save Map”

Other features
Preview: See the story map as your audience will see it. From there, either return to editing the story or publish.
Save Draft: Crafting a story map often takes a while. If you need to save your work and come back to it later, select “Save draft” to preserve your work for later.
Publish: When you are ready to share your work with other people, select “Publish”. You will see the final version of your story map, which you will be able to share with people in your landscape and out.
Invite: Invite other people to join your story map as editors.